
Lesson 2b: Internet Information Server (IIS) on Windows XP Professional
By default, IIS is not installed on Windows XP Professional. But you can easily install and configure IIS by following the instructions below:
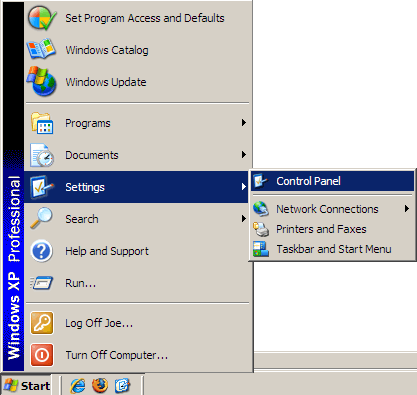
1. Click Start, click Control Panel, and click Add or Remove Programs:
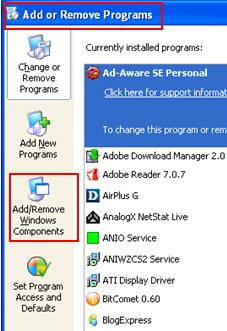
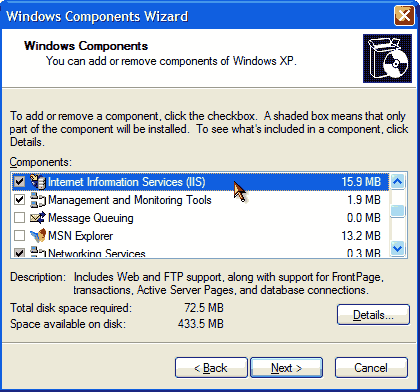
2. Click Add/Remove Windows Components. The Windows Components Wizard appears:
3. Follow the on-screen instructions to install, remove, or add components to IIS:
Congratulations! Your computer is now a web server!
Browsing your server
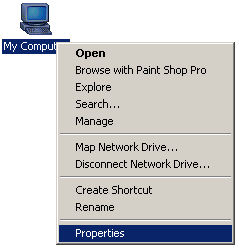
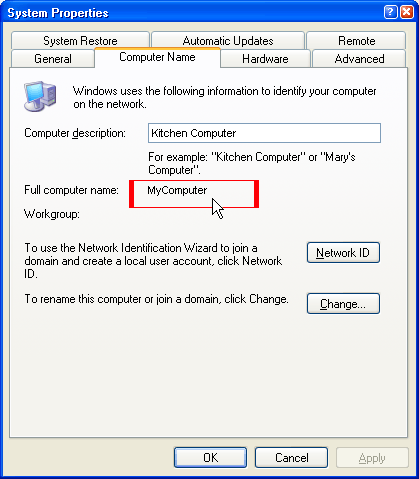
Next, you need to find your computer name. You'll find it by right clicking "My Computer" on your desktop and select "properties":
In the dialog box, you find your computer name under the tab "Network Identification". I have here stated my computer's name in red - it's called MyComputer (but yours are probably called something else).
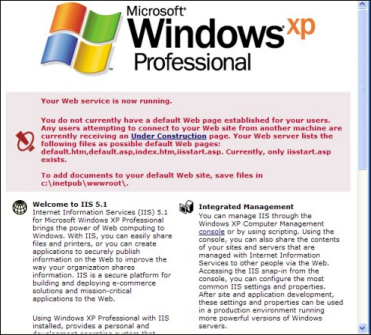
Now you simply type the computer name in the address bar of your browser...

... and when you click return you will see a page like the one pictured below. It means that you now have contact to your server. Now we just need to look at where you need to save your ASP pages.
How to work with ASP and HTML files on the server
The last thing you need to know before you are ready to create your first ASP pages is where to save them.
The root of your website is c:\inetpub\wwwroot. This means that the file c:\inetpub\wwwroot\default.asp can be accessed in your browser at the address http://MyComputer/default.asp (replace "MyComputer" with the name of your computer (look above)).

And in the same way, the folder c:\inetpub\wwwroot\images will be available in your browser at http://MyComputer/images.
That's it! Now are you ready to code your first ASP page. Hurry on to Lesson 3!